As a realtor, you want to exploit any opportunity that is available for generating leads to your realty business. Creating real estate Facebook pages is one of those opportunities. By creating a Facebook Page for your business, it allows you to socialize and engage with potential clients. Here’s a step-by-step solution that shows you how to create a Facebook business page.
Signing Up
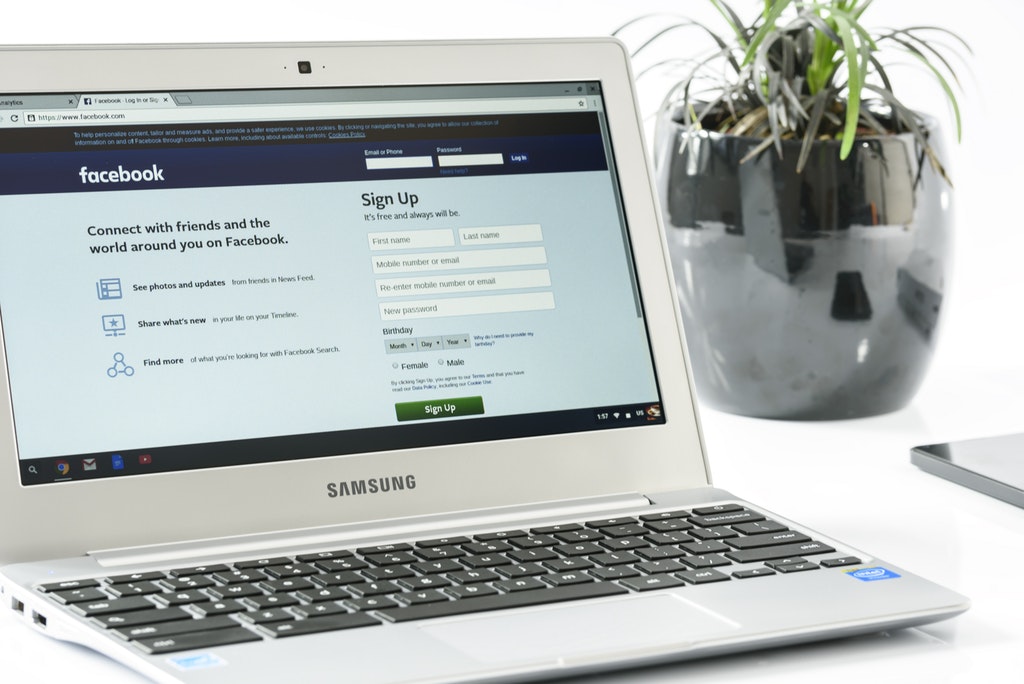
If you haven’t already, the first step that you need to take is to sign up for your page on Facebook. You can do this by going to Facebook.com and creating a new account.

Create Your Small Business Page
Once you’ve created your own personal Facebook page, you will make a separate page that profiles your realty business. Look for the little arrow that is located at the top upper right corner of your personal Facebook page. When the drop-down menu pops up, click on the “Create Page” option and choose the “Local Business or Place” category as you work at a small business.
Real Estate Profile Information
In this step, you’ll be adding the information that pertains to your real estate business. This includes the name of your business, address, and your phone number. When entering your address, you can choose to use your home address or the address of your brokerage. It may be in your best interest to use your home address as this will distinguish you from other realty agents that work out of your brokerage office.
Uploading Photos
Now, it’s time for you to upload a cover photo and headshot. Choose an appropriate professional picture for your headshot and upload it to Facebook by clicking on the small square that is located in the upper left window. Use a high-quality image that syncs with your local market when choosing your cover photo — a skyline image is always good. Upload this by clicking on the rectangle that’s larger.
Business Description
After uploading your two photos, you’ll enter your business description. In the category section, describe yourself as an “Estate Agent” as a real estate agent is not an option. Write a small description that highlights your business and include your business hours, email address and website. Double check your address and phone number to make sure that they are correct. When you create your username, make it memorable, short and to the point, as it will be the URL for your real estate Facebook Page (such as www.facebook.com/yournamerealtor/.)
Call To Action
Your sixth step is to add a call to action to your realty Facebook small business page. Click on the “Add a Button” link that is located below your cover photo. In this section, you can choose from many options such as “Book Now” or “Request Time.” Choose the option that works best for you.

Create Your First Post
At this point, you are almost done! Your final step is to create your first introductory post. Click on the “Write Something” option and write your introductory post. It’s also a good idea to embed a video here so that you can build more engagement with your audience.
After creating your real estate Facebook Page, continue to add information that your customers will appreciate. Highlight big deals that you closed or show interesting properties that you currently represent. Continue this process and you will begin to generate more real estate marketing leads to your business.

